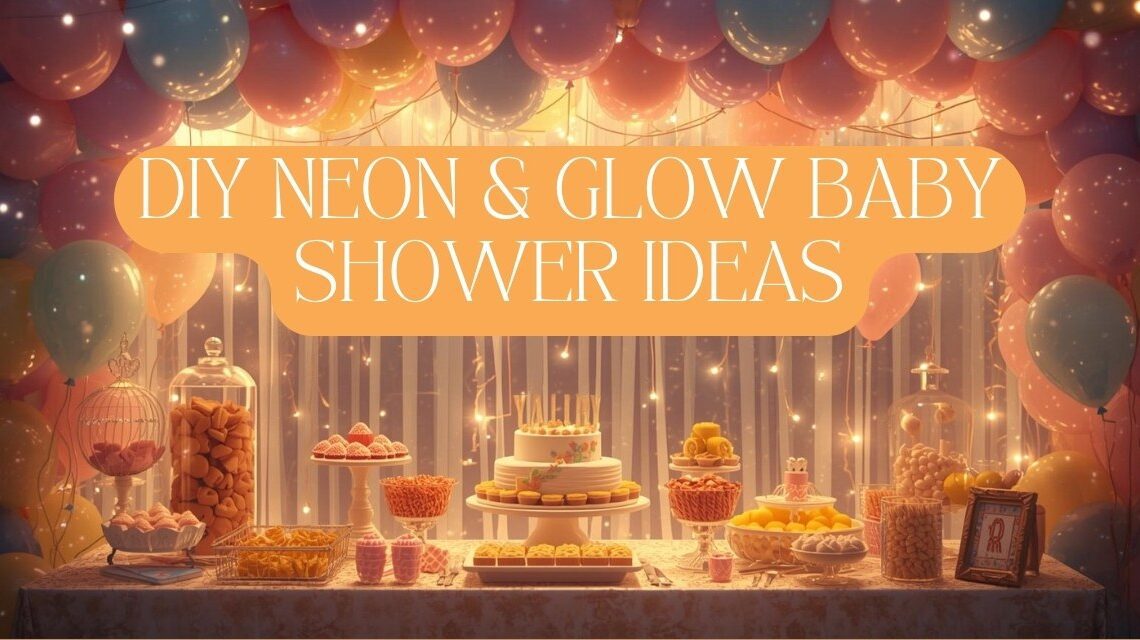
If you’re planning a DIY neon glow baby shower and you’re thinking, This sounds fun… but also like a lot, here’s the direct fix: pick 3 glow moments only (entry, food table, photo spot), keep the party to 90 minutes and use UV-reactive paper goods plus a few blacklights instead of complicated decor. That’s how you get the wow without turning your home into a craft store.
This theme is perfect for a sprinkle, a co-ed shower or a second baby when you want something fresh.
It photographs like a dream and it keeps guests talking because it’s not the same balloons-and-bunting setup everyone’s seen.
Quick helpers if you want this to feel effortless:
SHOP: Blacklight Party Bulbs or Bar Lights (home-safe UVA options)
SHOP: Neon/UV-Reactive Party Pack (cups, plates, napkins)
Everything else is your plan, step-by-step, with shortcuts.
In a minute, you’ll have a buy this, do that checklist that works even if you’re busy and slightly tired of planning.
The whole concept in one sentence
You’re not decorating a room.
You’re lighting up three zones.
The 3 zone rule (the only rule you need):
Glow Zone 1: the entry. Glow Zone 2: the food table. Glow Zone 3: the photo spot.
If you do those three, the party feels intentional.
If you do more than that, it starts feeling like a science fair.
Read next: Baby Sprinkle Basics: gifts, guest list and wording.
Safety first
Glow parties are generally safe when you use the right kind of light and keep glow items away from tiny mouths.
Blacklights used for parties typically emit UVA and the Cancer Council of Australia says UVA exposure from black lights is well below recognized safe limits for typical use.
For glow sticks, multiple poison control sources say the liquid is generally not poisonous but it can irritate eyes/skin/mouth and the plastic tube is a choking hazard.
Skip glow sticks for toddlers, use LED glow bracelets or light up rings instead and keep any glow-stick fluid away from eyes.
If a glow stick breaks, rinse with water and wash skin with soap and water. That’s the unglamorous part handled.
Now the fun part. The exact shopping list that makes this theme work without a giant budget.
The looks amazing in photos shopping list
You need surprisingly little. The key is buying items that react well under blacklight.
Your non-negotiables
1–2 UVA blacklights (bulb or bar)
Neon/UV-reactive tableware (plates, cups, napkins)
Neon tape (the MVP of this theme)
White tablecloth or white backdrop fabric (white glows under blacklight)
Your optional upgrades
LED neon sign (even a small one) for the photo spot
Glow balloons or LED balloons
White balloons (they pop under blacklight, even without neon)
Neon tape does more theme work than anything else you’ll buy.
It outlines, frames, labels and instantly makes a room look styled.
Quick planning table you can screenshot
| Time before | Do this | Shortcut that saves time |
| 3–4 weeks | Pick the glow zones guest list | Keep it 90 minutes |
| 2–3 weeks | Send invites | Tell guests to wear white/neon |
| 1–2 weeks | Order lights tableware | Keep decor to tape one backdrop |
| 3–5 days | Test what glows | Do a 2-minute blacklight test at night |
| Day of | Set zones labels | Stations run the party for you |
Testing what glows is the difference between “wow” and “why does nothing look neon?!”.
The 2 minute blacklight test (don’t skip this)
The night before, turn off the lights and test:
white paper, your napkins, your cups, a highlighter mark, neon tape.
Not all neon items fluoresce the same. This tiny test prevents last minute panic.
Next: your 3 glow zones, laid out like a map so you can copy it.
Glow Zone 1: The entry (instant theme in 10 minutes)
Your goal here is one quick hit of neon.
Guests need to walk in and immediately get the vibe.
Do this:
Put a white poster board sign that says: Glow Baby or Little Light on the Way
Outline the sign with neon tape
Add a basket with LED bracelets or glow rings (safer for littles than glow sticks)
Give everyone something that lights up at the door.
It makes the party feel interactive without any games yet.
Glow Zone 2: The food table (where your photos will happen)
Most baby shower photos happen near food.
So you want the food table to do the heavy lifting.
Setup that looks styled
White tablecloth
Neon tape frame around the table edge
Fluorescent cups/plates/napkins
One tall item in the middle (a vase with glow sticks inside a sealed container or LED light-up centerpiece)
If you’re using a neon sign, put it behind the food.
Neon signs are often used to highlight key stations like desserts and gifts and they’re functional as well as cute.
A simple white background behind the food table makes the neon look stronger.
White reflects and glows under blacklight.
Neon glow food ideas
This theme is easiest when you go bright, simple, repeat.
You’re aiming for color blocks not gourmet.
Foods that naturally look neon-ish
Fruit skewers (strawberries, pineapple, kiwi)
Rainbow veg cups (pepper strips, carrots, cucumber)
Mini donuts with neon sprinkles
Cupcakes with bright frosting swirls
The party trick: Blacklight test garnish
Use neon paper straws.
Use neon tape labels for everything.
If you want the glow effect without weird ingredients, focus on presentation and light.
A lot of glow party guides point out that white and neon items fluoresce best under blacklight.
Do not stress about making food glow. Make the table glow. That’s the grown up secret.
Glow drinks
Do a Neon Sip Station.
Two drinks are enough.
- Lemonade with fruit
- Sparkling water with a bright cordial
- Mocktail option for the guest of honor, obviously
Label them:
- Glow Juice
- Tiny Spark
- Midnight Fizz
Put drinks in clear dispensers and use neon cups.
It’s simple but it reads like a theme.
Now the part every mom asks: what do guests actually DO at a glow baby shower?
Activities that with kids there
Skip anything that makes people perform.
Pick activities that run themselves.
1) Neon wishes wall
Put up a white poster board.
Leave neon markers or highlighters.
Prompt at the top: Write a one line wish for baby.
It becomes decor and a keepsake.
2) Glow name guess
Put out slips of paper and one jar.
Prompt: Guess baby’s nickname or future vibe.
Keep it playful and optional.
People love contributing without being put on the spot.
3) Neon tape design a onesie station
Use neon fabric tape or neon fabric markers.
Set out plain white baby onesies in a few sizes.
Limit it to 10 minutes and call it a design sprint.
Short rounds keep it light.
4) Blacklight scavenger hunt (kids go wild for this)
Hide neon tape stars around one room.
Give kids a simple list: Find 5 stars.
They burn energy, adults talk, everyone wins.
Glow zone 3: The photo spot (make this and you’re done)
The photo spot is where your theme becomes unforgettable.
You don’t need a balloon arch.
The simplest photo spot
- White sheet or white backdrop
- Neon tape confetti shapes (dots, zigzags, stars)
- One neon sign or a paper sign outlined in tape
- A small basket of props: neon glasses, glow rings, a Team Baby sign
Put the blacklight aimed at the backdrop not at faces.
It makes the background pop and keeps photos flattering.
If you want a pro-level shortcut, do the photo spot near a wall outlet and away from windows.
Blacklight reads best in dim light.
Next: the schedule that keeps the party moving without you herding adults.
The 90 minute run plan
0:00–0:15 Arrivals glow item basket
0:15–0:35 Food neon wishes wall
0:35–0:50 Quick toast one prompt question
0:50–1:10 Photo spot rotation optional gift moment
1:10–1:30 Final snacks goodbye waves
Short parties feel more special because people leave on a high.
Long parties end with people checking watches.
Outfit guidance that makes guests look great in photos
Tell guests one line on the invite:
Wear white or neon if you can.
White glows under blacklight, neon fluoresces and darker colors don’t pop as much. That one sentence improves every photo.
If you only style one thing, style the guest of honor in white.
She’ll be the brightest point in the room and it looks intentional.
The gift table
Put gifts in the food table zone area so it’s naturally in photos.
Label it with neon tape: Baby Stash.
If you want this to feel modern and simple, suggest practical gifts.
For a sprinkle-style vibe, diapers and wipes or a short essentials list keeps it focused.
A realistic budget breakdown
This theme can be low-cost or extra.
Here’s the honest version.
Under £60 style
- 1 blacklight bulb
- neon tape
- neon tableware
- white tablecloth
- DIY signs
Mid range £60–£150
- 2 blacklights
- upgraded backdrops
- LED props
- matching cups/plates/napkins
- photo spot props
I want the wow £150
- neon sign
- photo printer
- extra lighting
- more props
Lighting is where your money matters most.
Decor matters less when the lighting is right.
If you’re worried about blacklight safety, read this
Use party blacklights, not industrial UV equipment.
Some party planning sources explicitly advise using lights meant for parties and avoiding industrial-strength UV.
Cancer Council Australia notes that UVA exposure from black lights is well below recognized safe limits in typical settings.
And for glow sticks, poison control sources repeat that the liquid is generally non-toxic but can irritate and the casing can be a choking hazard.
Use UVA party lights, keep the room ventilated and keep glow items away from babies and toddlers.
The my house is small version
This theme still works in a small space. You just shrink the zones.
- Entry basket goes on a chair
- Food table becomes a kitchen counter section
- Photo spot becomes one wall with a taped frame
One wall plus one table equals a full theme. Everything else is extra.
Next is the part that makes this article worth saving: the exact checklist you can paste into your notes app.
Copy-paste checklist for your phone
Lights
1–2 UVA blacklights
Extension lead
Tape to secure cords
Tables
White tablecloth or sheet
Neon tape
Neon tableware
Labels and markers
Zones
Entry glow basket
Food station
Photo wall
Activities
Neon wishes wall
Name guess jar
Scavenger hunt for kids
Safety
No glow sticks for toddlers
Rinse/wash if glow fluid contacts skin/eyes
Keep cords taped down
FAQs
How do you host a neon glow baby shower at home?
Use the 3 zone rule: entry basket, food table and photo wall, then add 1–2 party blacklights and neon tableware.That’s enough for the theme to land without extra work.
What colors glow best under blacklight?
Fluorescent neon orange, green, yellow and pink glow strongly and white also pops under blacklight.
Are blacklights safe for a party?
Cancer Council Australia says UVA exposure from black lights is well below recognized safe limits for typical use.
Use lights designed for parties and avoid industrial UV equipment.
Are glow sticks safe for kids at a baby shower?
Poison control sources say glow stick contents are generally non-toxic but can irritate eyes/skin/mouth and the tube can be a choking hazard.
For toddlers, choose LED glow bracelets or rings instead.
What are easy glow party games for mixed ages?
Neon wishes wall, glow scavenger hunt and a quick design sprint onesie station work well because people can join or skip without awkwardness.
Good luck!