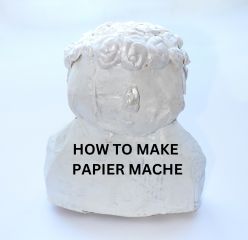
Papier mache is historically seen as an architectural material. It was always a popular material in 18th century Britain. It’s no wonder that a paper mache recipe is one that people look so hard to perfect – it’s widely known just how useful it can be.
Let’s make it clear from the start that I may well end up using the phrases “papier-mâché” and paper mache interchangeably. Papier-mâché has evolved over time into what is now commonly referred to as “paper mache.” Even though its use in grand architectural projects has pretty much stopped, the material is still a popular choice for artistic and educational activities especially among kids.
CHECK OUT: 13 Budget Summer activities for kids at home
In this article, we’ll look at options for paper mache recipes that you can try. We’ll conclude by considering which is the best paper mache recipe.
Is paper mache just flour and water?
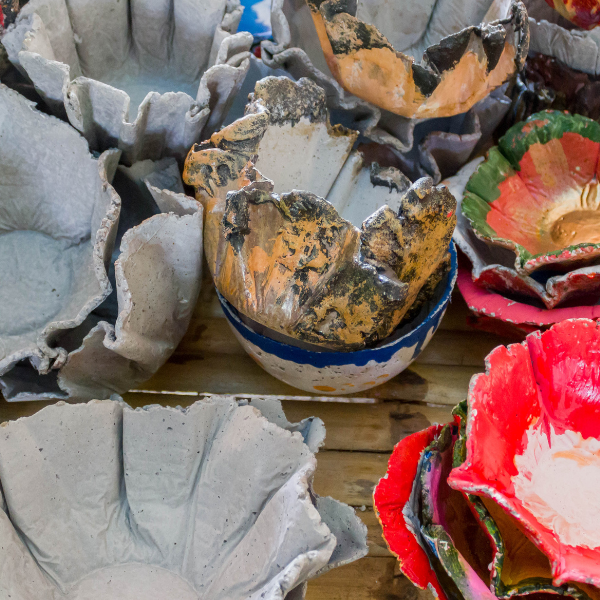
Paper mache is commonly made using a simple mixture of flour and water, but as you will see from the paper mache recipes below, it can also be made with other ingredients depending on the desired strength, texture and durability of the final product. The basic flour and water recipe is the most traditional and widely used, especially in schools and for basic craft projects. However, that’s just one of many recipes.
Other ingredients for Paper mache
In addition to the basic flour and water mixture, other ingredients can be used to enhance the properties of paper mache:
- Glue. White glue (such as PVA glue) can be mixed with water to create a stronger and more durable paste than flour and water alone.
- Wallpaper paste. This pre-made adhesive is mixed with water and is often used for larger or more professional projects, offering a smoother finish and more durability.
- Resin. Resin-based mixtures are used for projects that require a very hard and durable surface, such as for outdoor sculptures.
- Starch or cornstarch. Some recipes use starch or cornstarch to create a smoother, more refined paste that can be easier to work with for detailed projects.
What are the two methods in making paper mache?
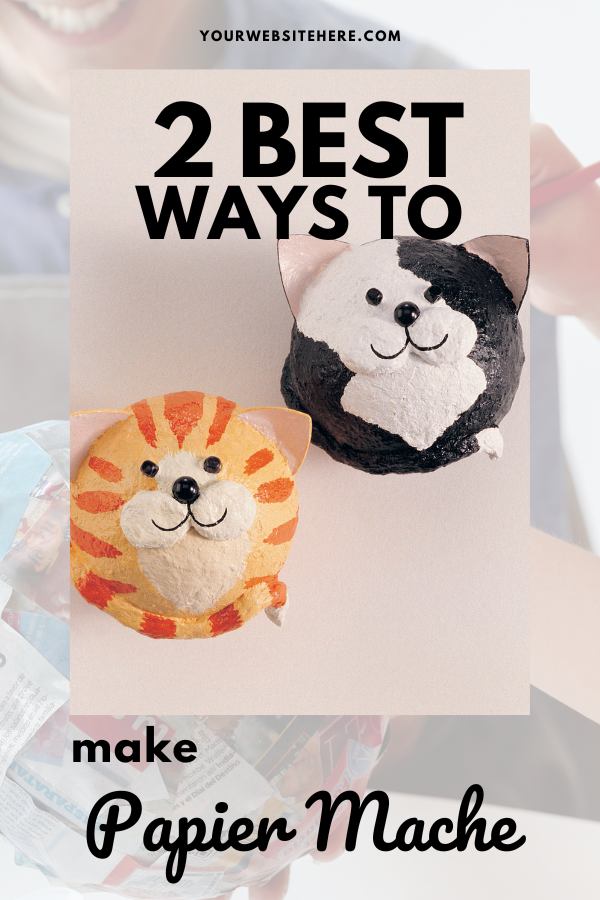
There are two most popular methods for making paper mache: the strip method and the pulp method. Each method has its own applications and you’d choose one or the other depending on what you’re trying to achieve.
1. Strip method
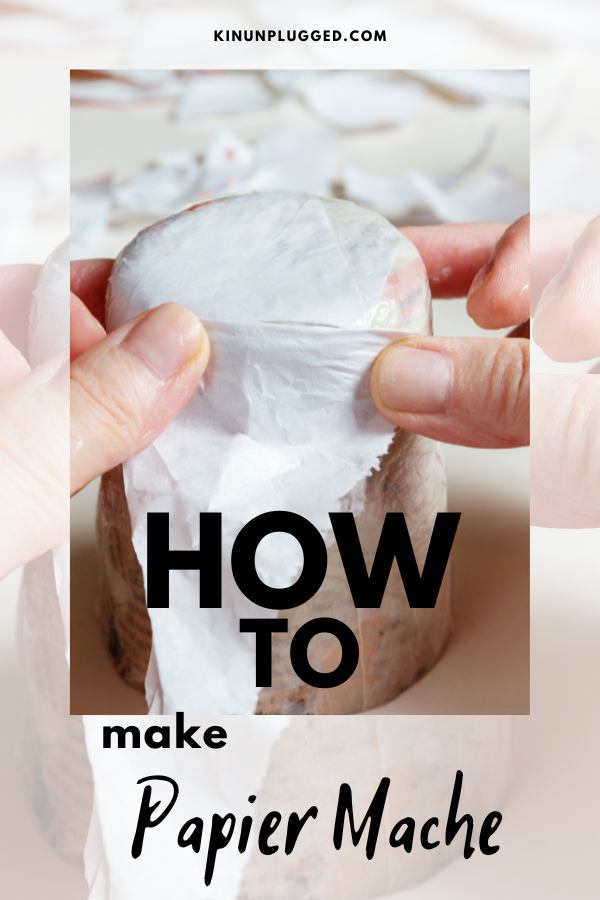
The strip method is the most common and traditional technique used in paper mache projects. It involves dipping strips of paper (typically newspaper) into a paste made of either flour and water or glue and water and then layering these strips over a mold or form. This method is simple and versatile, which makes it ideal for basic projects like masks, balloons or piñatas.
It’s also great for creating hollow structures as the mold (often a balloon or other temporary form) can be removed once the paper mache hardens.
2. Pulp method
The pulp method, also known as paper mache clay, involves creating a pulp from paper and mixing it with a binding agent to form a clay-like substance. This method is used for sculpting and more detailed projects where a smoother or more textured surface is what you are trying to achieve.
Choosing the right method
- Strip method. Ideal for lightweight, hollow objects or when working with a base mold.
- Pulp method. Best for detailed sculpting or when a more solid, durable finish is needed.
Having broken all that down, let’s look at some of the best paper mache recipes.
The best paper mache recipes
- No-cook flour glue recipe
This is one of the simplest paper mache recipes, ideal for quick projects and safe for children.
Ingredients:
- 1 part flour
- 2 parts water
- A pinch of salt (optional, to prevent mold)
Instructions:
- In a large bowl, mix the flour and water until smooth.
- Add a pinch of salt to help preserve the mixture.
- Tear your paper into strips or small pieces.
- Dip the paper into the mixture, ensuring it is fully coated.
- Apply to your mold or structure and allow it to dry between layers.
- Resin paste recipe
This recipe uses resin to create a strong and durable paper mache material, ideal for projects that require extra strength.
Ingredients:
- 1 part resin
- 2 parts water
- Paper strips or pulp
Instructions:
- Mix the resin with water in a container until fully combined.
- Submerge your paper strips or pulp in the mixture.
- Apply the resin-soaked paper to your project.
- Allow it to dry thoroughly; the resin will create a hard, durable surface.
- Wood glue recipe
This paper mache recipe is great for creating a strong, smooth finish, making it ideal for sculptures or detailed projects.
What you need:
- 1 part wood glue
- 1 part water
To make:
- Combine wood glue and water in a bowl.
- Stir until the mixture is smooth and consistent.
- Dip paper strips into the glue mixture, coating them well.
- Layer the strips over your mold or structure, pressing out any air bubbles.
- Allow the project to dry completely before adding more layers or painting.
- Cellluclay recipe
Celluclay is a pre-mixed paper mache material made from recycled paper fibers, offering convenience and a clay-like texture.
Ingredients
- Celluclay
- Water (as directed on the package)
Instructions
- Measure out the desired amount of Celluclay.
- Add water according to the package instructions, mixing until the texture is consistent.
- Apply the Celluclay directly to your mold or armature, shaping it as needed.
- Let it dry thoroughly before painting or finishing.
- Powdered wall paper paste
This is a common paper mache recipe that is very easy to prepare and results in a strong adhesive.
What you need
- Powdered wallpaper paste
- Water (as directed on the package)
To make
- Mix the powdered wallpaper paste with water according to the package instructions.
- Stir until the mixture is smooth and free of lumps.
- Dip your paper strips into the paste and apply them to your project.
- Allow each layer to dry before adding more for a stronger build.
Is paper mache flour or glue better?
When deciding between using flour or glue for your paper mache recipes, you should take into consideration the specific needs of your project, including durability, cost, ease of use and the kind of finish you want. Both flour and glue have their own strengths and weaknesses.
Flour-based paper mache recipes
Advantages
- Cost-effective. Flour is inexpensive and widely available, making it an ideal choice for large projects or for working with groups, such as in a classroom setting.
- Safe and non-toxic. Flour-based paper mache recipes are non-toxic, which makes them safe for use by children. This is a significant advantage in educational settings where safety is a priority.
- Easy to make. The paste is easy to prepare, requiring only flour and water. This simplicity is advantageous for quick setups or when working with younger children who can help with the preparation.
- Traditional finish. Flour-based paper mache has a more traditional finish, with a slightly rougher texture that can add character to certain types of projects, like piñatas or masks.
Disadvantages
- Susceptibility to mold. Because flour is an organic material, flour-based paper mache recipes are more prone to mold, especially in humid environments. This can be mitigated by adding a pinch of salt to the mixture or ensuring that the project is completely dry before sealing it.
- Weaker bond. Flour paste generally creates a weaker bond compared to glue. This makes it less suitable for projects that require extra durability or strength.
- Longer drying time. Projects made with flour paste may take longer to dry completely, particularly in thicker applications.
Glue-based paper mache recipes
Advantages
- Stronger bond. Glue-based paper mache recipes create a much stronger and more durable bond. This is particularly important for projects that need to be sturdy, such as sculptures or items that will be handled frequently.
- Smoother finish. Glue typically produces a smoother finish, which is desirable for projects that require a polished look, such as decorative items or detailed models. It also makes sanding and painting easier.
- Resistant to mold. Unlike flour, glue is not an organic material, so it is less likely to develop mold over time. This makes it a better option for projects that will be kept for long periods or in humid environments.
- Faster drying. Glue-based recipes often dry faster than flour-based ones, which can be a significant advantage when working under time constraints.
Disadvantages
- Cost. Glue, especially high-quality or specialized types like PVA or wood glue, can be more expensive than flour. For large-scale projects, this could be a consideration.
- Potential toxicity. While most white glues are relatively safe, they are not as non-toxic as flour paste. This might be a concern for very young children or for those with certain sensitivities.
- Availability. Although glue is widely available, some specific types (like art paste or specialty adhesives) might not be as accessible as simple flour.
Which is better?
- For small, simple projects or classroom activities: flour-based paper mache recipes are often sufficient, providing a safe, economical and easy-to-use option.
- For more complex or durable projects: glue-based paper mache recipes are typically better. They offer increased strength, a smoother finish and less risk of mold, making them ideal for detailed work or items that need to last.
In conclusion, whether flour or glue is better for your paper mache project depends on your specific needs. Flour paste is great for easy, cost-effective projects, while glue paste is better for achieving durability and a smooth finish.
What is your preferred paper mache recipe?

