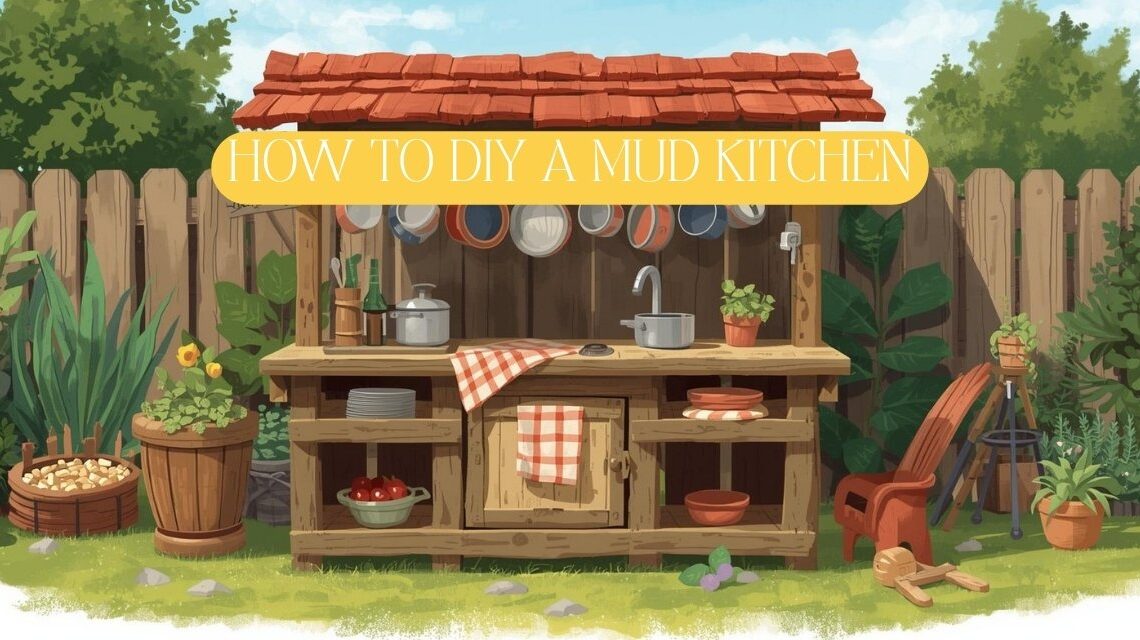
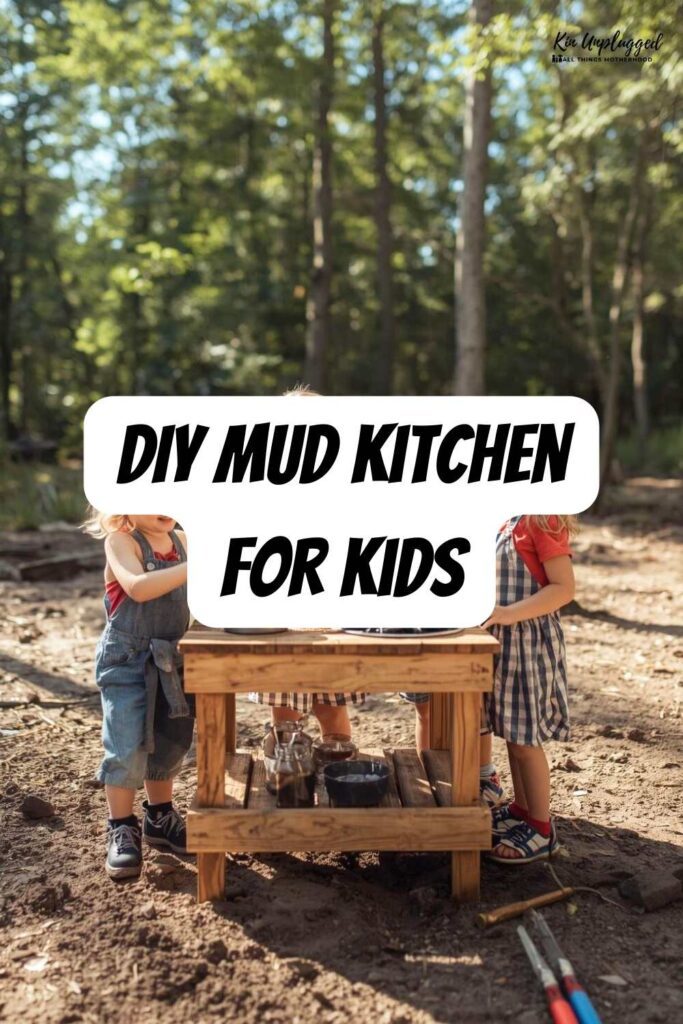
If you want to know how to DIY a mud kitchen, the fastest answer is this: use one solid base, add one work surface at child height, include a water option and a few hooks or shelves, then stop. A good mud kitchen does not need to be elaborate to become the most used thing in the garden.
That is the part people often miss. Children do not need a cinematic outdoor kitchen with twelve accessories and a pretend espresso machine made from reclaimed plumbing.
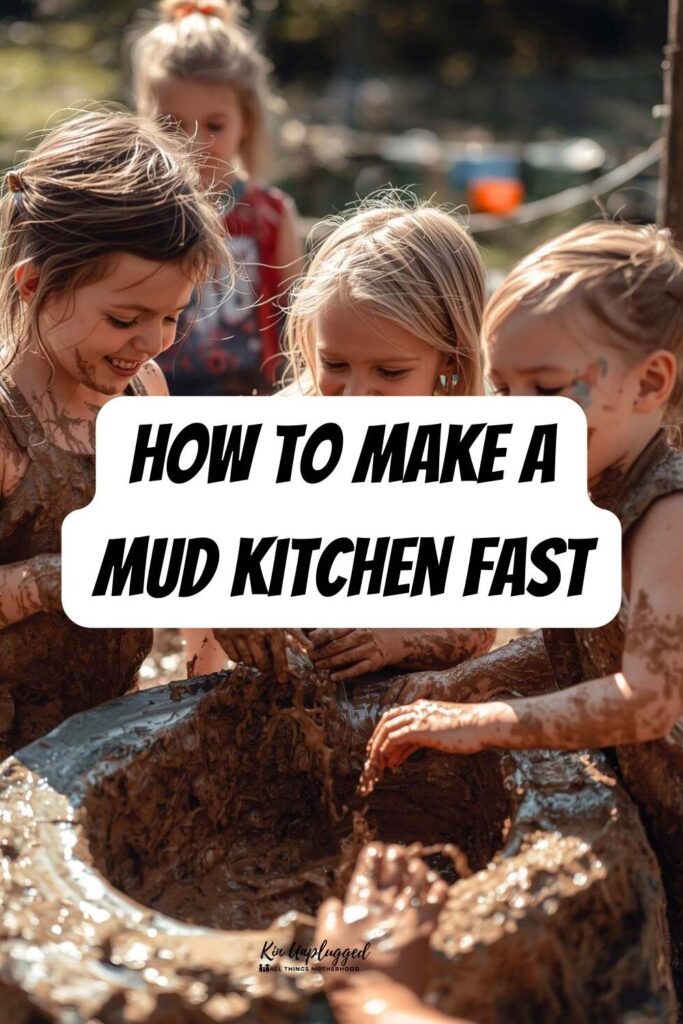
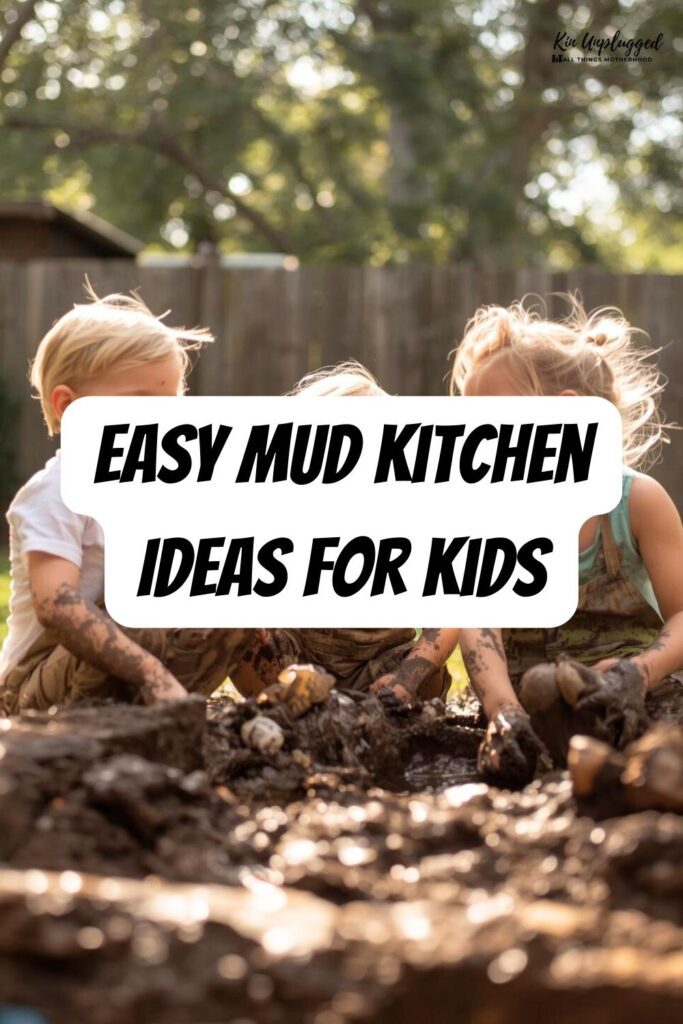
They need a sturdy place to scoop, pour, mix, wash, pretend and repeat. Messy play supports fine motor skills, exploration and problem-solving and the NHS includes messy play among useful activity ideas for young children.
Shop outdoor play kitchen taps and bowls
[Shop child-safe gardening tools and accessories]
[Shop outdoor chalkboards, hooks and storage tubs]
If you are planning this because your child needs more outdoor play and less low-level indoor destruction, that instinct is not wrong. The CDC notes that active outdoor play can help children develop strong bodies and meet important movement milestones, while NHS play guidance also highlights the value of active, hands-on play for coordination and development.
And the beauty of a mud kitchen is that it gives you something many outdoor toys do not. It holds attention for longer than five minutes, it grows with the child and it lets siblings of different ages find their own level without anyone needing a whistle and a rota.
What a mud kitchen actually needs
Let us get one thing out of the way. A mud kitchen is not a woodworking contest.
At its simplest, it is an outdoor play station with a surface, a container for mud or water play and a few places to store utensils. That is enough for a child to start cooking, mixing, pouring and experimenting.
The reason it works so well is that it combines sensory play, imaginative play and physical action in one place. NHS-linked guidance on messy play notes benefits for coordination, hand skills, thinking, learning and exploration and CDC milestone guidance also highlights pretend play as a meaningful part of development in the preschool years.
So if you are wondering whether it needs an oven door, painted knobs, a faux herb rack and a tiny market sign, the answer is no. It needs to function, not audition.
The best age for a mud kitchen
Mud kitchens work best for toddlers through early primary age, though older children often still enjoy them if you style them more like a garden lab or potion station. The most useful sweet spot is usually around ages 2 to 7.
That lines up with the kind of development happening at this stage. Young children learn a great deal through play, imitation and hands-on exploration and by age 4 many children are pretending to be different characters during play and liking helper roles.
In practical terms, that means a three-year-old may be making leaf soup and a six-year-old may be running a bakery, a café, a potion shop and a wildlife rescue centre from the same surface before lunch. Children are generous like that with their imagination. The furniture only has to keep up.
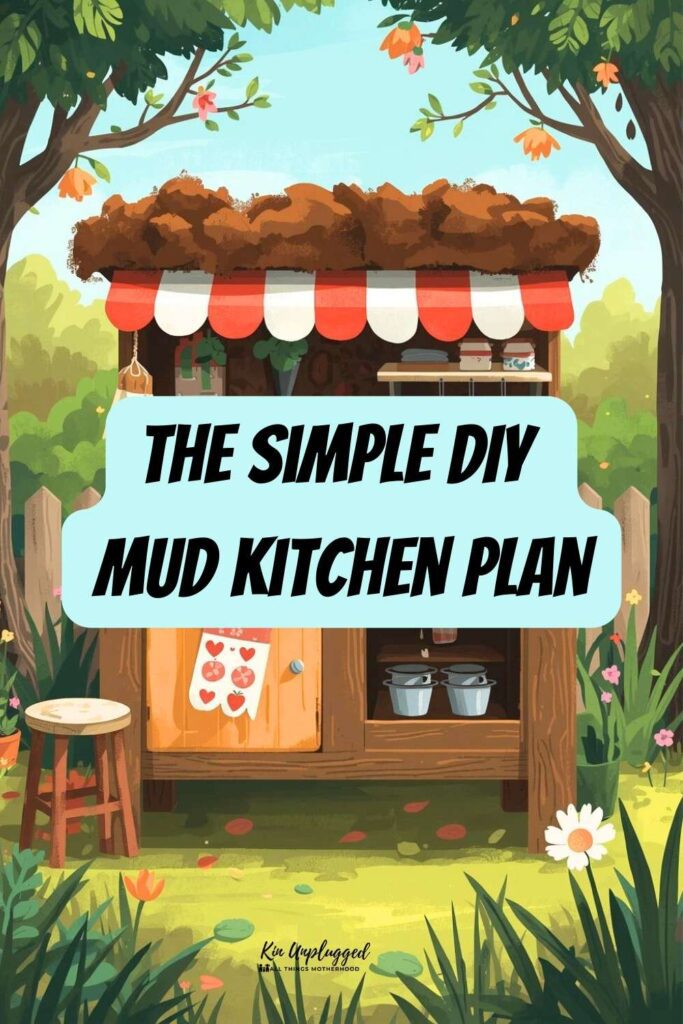
The one decision that makes the whole build easier
Before you start gathering wood, choose which kind of mud kitchen you are building. There is no point copying a beautiful Pinterest setup if your actual garden, budget or energy is asking for something much simpler.
These are the most useful versions:
| Type | Best for | Build difficulty | Cost level | Looks like |
| Basic shelf kitchen | small gardens, beginners | easy | low | one counter, one shelf, one bowl |
| Pallet mud kitchen | budget builds, rustic look | medium | low | pallet frame with simple worktop |
| Upcycled furniture kitchen | quick repurpose project | easy to medium | low to medium | old cabinet, side table or unit |
| Freestanding timber kitchen | long-term setup | medium | medium | sturdy outdoor workbench style |
| Mud kitchen plus water wall | older kids, larger space | medium to high | medium | play kitchen with extra sensory zone |
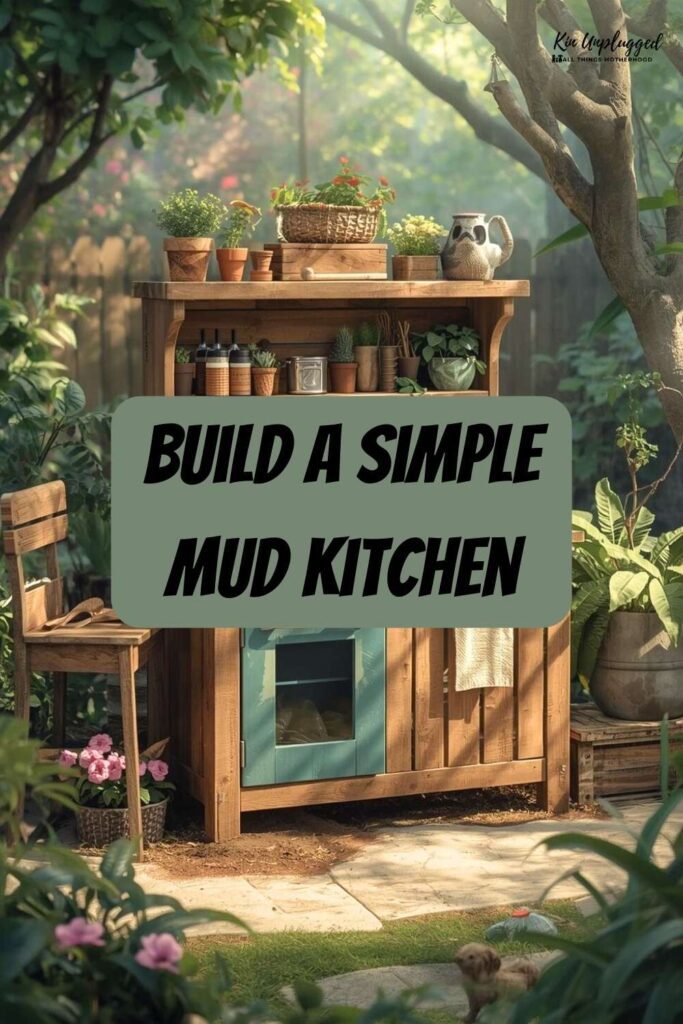
If you want the most realistic version for a busy family, go with upcycled furniture kitchen or basic shelf kitchen. They are much easier to finish, which matters because unfinished projects have a way of becoming permanent garden sculpture.
If you are handy and already have timber, a simple freestanding build can be brilliant. Just keep the structure plain and spend your imagination on the accessories instead.
Where to put a mud kitchen
Location matters more than paint colour. A beautiful mud kitchen in the wrong spot becomes a damp wood problem with a side of regret.
The best place is:
- visible from the house
- partly sheltered if possible
- near a water source or water container
- on a surface that can handle mess
- not directly in the main walkway
If you can, place it on paving, compacted gravel, bark or a washable patio area rather than straight onto the soggiest patch of lawn. You want the fun kind of muddy, not the how has the whole back door become a bog? kind.
A child height guide that actually helps
You do not need exact engineering math for this but the worktop should sit roughly around your child’s waist or a little below. Too low and they crouch awkwardly. Too high and they cannot use it well.
A decent working guide is:
| Child age | Approximate counter height |
| 18 months to 2 years | 40 to 45 cm |
| 2 to 4 years | 45 to 55 cm |
| 4 to 7 years | 55 to 65 cm |
If you have children of mixed ages, aim for the younger child to comfortably reach the surface and add crates or a stable stepping platform for older play adjustments only if needed. It is easier to adapt upwards than to explain to a toddler why their kitchen has gone all minimalist and inaccessible.
Materials you can use
Here are the materials that work well:
Good base options
- an old potting bench
- a low wooden shelving unit
- a bedside cabinet or side table
- pallets plus leftover timber
- reclaimed deck boards
- exterior plywood for the top
Useful add-ons
- stainless steel bowl or old sink bowl
- hooks for utensils
- short shelf for pots and cups
- chalkboard or sign
- old knobs or taps for pretend play
- baskets or tubs for nature finds
- exterior screws
- sandpaper
Best finishes
- outdoor wood paint or exterior sealant for parts that are not used directly as messy surfaces
- untreated removable bowls and play tools that can be washed separately
You do not need a real plumbing setup. A water dispenser, watering can or old drink container with a tap is usually more than enough.
The simplest way to build one
This is the version most people should do because it gives a good result without swallowing the week.
Step 1: choose your base
Pick a low piece of furniture or build a plain rectangular frame with four legs and a top. If using reclaimed furniture, check it is stable and solid before you start.
Give it a good clean first, because it is difficult to feel like a capable parent while scrubbing mud into mystery stickiness from 2011.
Step 2: cut the top if needed
If you are building from scratch, add a simple timber or plywood worktop. If you want a bowl inset, mark the bowl shape and cut a hole slightly smaller than the bowl rim so it sits securely.
You do not need two sinks unless your children have particularly strong views about dishwashing zones. One bowl is enough.
Step 3: sand everything thoroughly
This part is not glamorous but it is what makes the kitchen feel usable rather than vaguely menacing. Sand all edges, corners and surfaces, especially anything at hand level.
The CPSC’s age and play guidance stresses matching products and play opportunities to children’s developmental abilities and common-sense safety here matters just as much as charm.
Step 4: secure shelves and hooks
Add one shelf below or above or both if you have the space. Attach hooks for spoons, measuring cups or little pans.
This is where the kitchen starts to feel like something children can return to independently. Structure helps play last longer.
Step 5: paint or seal
Use an exterior-safe finish if you want the wood to last outdoors. Let it cure fully before children use it.
If you want it to look pretty, keep the palette simple. Sage, soft grey, pale blue, cream or plain timber all work nicely.
Step 6: add the bowl and accessories
Drop in the bowl, add a few utensils, a couple of pans, a jug and perhaps a chalkboard sign. Then stop.
You really do not need to furnish it like a tiny holiday cottage. Children will add the drama themselves.
The best accessories and the ones you can skip
Worth adding
- one or two mixing bowls
- old wooden spoons
- metal measuring cups
- muffin tins
- small watering can
- herb pots nearby
- chalk for menu boards
- a bucket for water
- basket for sticks, petals and leaves
Fine to skip
- plastic food sets
- battery lights
- too many pretend appliances
- expensive branded play cookware
- anything fragile
- anything you will mind being left in mud for three days
The nicest mud kitchens usually contain a mix of real-world objects and natural materials. That is part of what makes them satisfying.
A better layout than most people use
Most mud kitchens are built as one flat unit and then left to fend for themselves. A better setup uses three tiny zones, even if the whole thing is only modest in size.
| Zone | What goes there | Why it helps |
| Mixing zone | main counter and bowl | the child can scoop, pour and mash |
| Storage zone | shelf, hooks, basket | tools are easy to find and put back |
| Nature zone | tray or tub for leaves, petals, sticks | ingredients feel intentional |
That one shift helps the play feel richer. Instead of random mess, children start to run little systems, which is exactly the sort of development you want to see and exactly the sort of sentence that sounds much more impressive than they made worm soup for forty minutes.
Mud kitchen ideas that stand out
This is the part where you can make yours more original. Not by turning it into an outdoor tapas bar but by making the play possibilities a bit broader and smarter.
Add a simple water wall beside it
A few funnels, tubes and recycled bottles mounted to a board can sit next to the mud kitchen rather than on it. That keeps water play active without flooding the whole counter.
Make it a seasonal station
In spring, offer petals and herbs. In autumn, add leaves, conkers and seed heads. In summer, use water, citrus slices, mint and safe garden finds.
This keeps the kitchen interesting without requiring a full rework.
Use clipboards and recipe cards
Older children love a role. Add weatherproof clipboards, chalk menus or pretend recipe cards and suddenly the kitchen becomes a café, potion lab, garden bakery or campsite mess tent.
Add a wash up tub
One tub for clean water and one for muddy tools gives children a complete loop to their play. It also encourages some level of tidying, which in outdoor child terms is practically advanced civilisation.
Make a mud pie display shelf
A plain plank shelf where children can line up cakes, leaf tarts and pebble biscuits sounds ridiculous until you realise how much pride it produces.
Safety notes that are actually worth reading
A mud kitchen is simple but it still needs sensible setup.
Keep it stable.
If it wobbles when you press on it, fix that first.
Sand rough wood and check screws regularly.
Hands, knees and shins find sharp bits with remarkable speed.
Supervise water play.
The NHS notes that young children should not be left alone around water, even shallow water, which applies to outdoor play areas too.
Use age-appropriate tools and avoid small hazards for younger children.
CPSC guidance emphasises matching equipment and products to children’s abilities and stages of development.
Think about hygiene.
Mud kitchens are for outdoor pretend play, not eating. Keep real food out of regular mud play unless you are doing a separate supervised edible sensory activity.
That last one should not need saying and yet here we are.
How to keep the mess under control
A mud kitchen should be messy. That is the point. But it does not need to spread like a political scandal across the whole garden.
Use these boundaries:
- one bucket for water
- one tray for natural materials
- one brush and dustpan nearby
- a washable mat or bark underneath
- a shoe-off rule at the door
Children usually respond better to simple routines than constant correction. Mud stays here. Tools go back here. Hands washed before going in is enough.
This fits with what we know about play and repetition. Consistent, repeated play routines help children learn skills and settle into independent activity more easily.
Structure does a lot of heavy lifting.
How to make it last outdoors
If you want your mud kitchen to survive more than one enthusiastic season, give it a little thought now.
Do this:
- raise the legs off permanently wet ground if possible
- use exterior screws
- cover or store loose accessories
- seal or paint non-contact wood
- tip out standing water
- check for splinters and loose parts often
If you can place it under a small overhang, pergola or even a cheap weather cover, you will get much more life out of it. Wood and British weather, in particular, are not a naturally harmonious pairing.
The biggest mistakes people make
Making it too complicated
A mud kitchen that takes weeks to finish often never becomes the easy family play tool it was supposed to be. Keep it plain.
Using flimsy furniture
If the base is already wobbling indoors, it will not become more emotionally resilient outdoors.
Ignoring child height
A beautiful setup that the child cannot comfortably use will not hold attention.
Over-accessorising
Children usually play better with fewer, open-ended tools. Too much stuff turns the kitchen into a jumble.
Putting it too far away
If you cannot see it easily, the chances of regular use drop.
FAQs: How to DIY a mud kitchen
What do you need for a DIY mud kitchen?
A sturdy base, a work surface, a bowl or sink and a few simple tools are enough. Shelves, hooks and storage baskets help but you do not need plumbing or complicated built-in features.
What wood should I use for a mud kitchen?
Exterior-suitable timber or reclaimed solid wood works well. Whatever you use should be sturdy, smooth once sanded and suitable for outdoor use if it will stay outside.
What age is best for a mud kitchen?
Mud kitchens are most popular from about ages 2 to 7, though older children often still enjoy them. Pretend play and hands-on exploratory play are especially important in the preschool years.
Where should I put a mud kitchen?
Put it somewhere visible, stable and easy to clean around, ideally near a water source or water container. Patios, paving and bark areas usually work better than very muddy grass.
Is a mud kitchen good for child development?
Yes, it can support fine motor skills, problem-solving, physical activity and imaginative play. NHS-linked guidance highlights the value of messy play for coordination, hand skills, thinking and exploration and the CDC notes benefits of active outdoor play and pretend play in early childhood.
How do you keep a mud kitchen clean?
Keep one brush nearby, empty standing water, store tools in a basket and check surfaces regularly. It does not need to be spotless, just safe and usable.
Do mud kitchens need running water?
No. A watering can, dispenser, jug or bucket usually does the job perfectly well.
Finally…
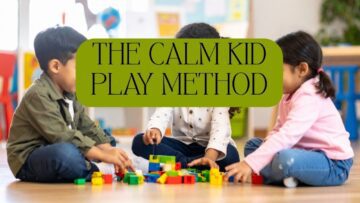
Learning how to DIY a mud kitchen is much less about carpentry genius and much more about knowing what children actually need. A stable surface, a bit of water, a place for tools and enough room for imagination will take you surprisingly far.And if this is the kind of practical family fix that makes life feel a little more doable, stay with me here. Read The Calm Kid Play Method next if you want more grounded play ideas with real-life payoff and keep this article bookmarked while you build because this is exactly the sort of project that gives children a better kind of mess and gives you a better kind of afternoon.