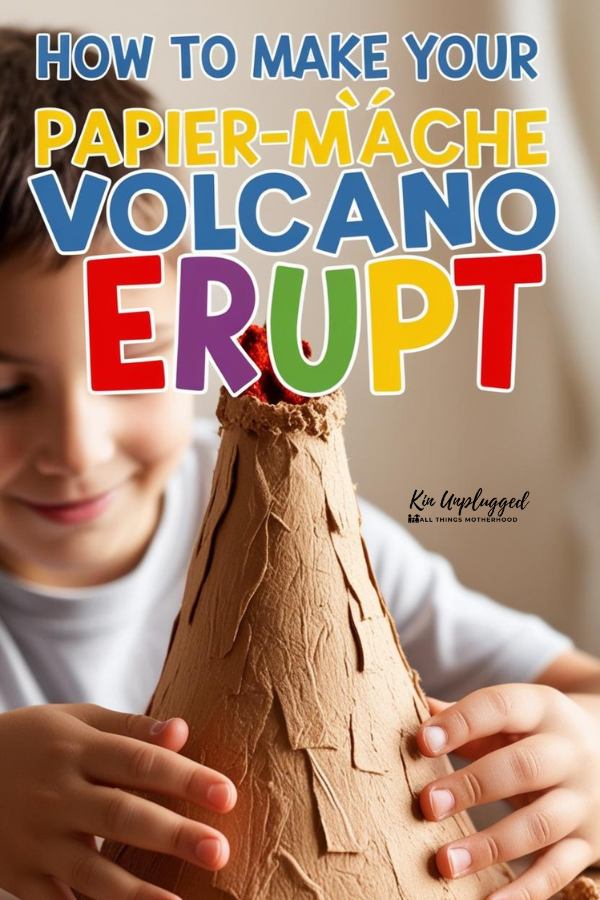
Is there anything more iconic in childhood crafts than making a paper mache volcano? It’s a classic for a reason. It combines creativity, science and good old-fashioned messy fun.
A paper mache volcano is an opportunity to really delve into the world of science in a fun way. You’ll explore concepts like chemical reactions while creating something truly unique and memorable. Plus, the hands-on nature of this activity makes it a great bonding experience for families.
In this guide, we’ll walk you through every step from building the volcano’s base to making it erupt! You’ll find a complete materials list, step-by-step instructions and even some tips to make your volcano stand out. By the end, you and your kids will have created something amazing and had a blast doing it.
Let’s get started!
Materials needed
Gather your supplies
Before starting the fun of crafting your paper mache volcano, it’s important to gather all the materials you’ll need. The good news? Most of these items can be found around the house or picked up inexpensively at a local store.
- Cardboard base or a sturdy surface. This will serve as the foundation for your volcano and catch any mess from the eruption.
- Newspaper strips. These are key to creating the paper mache layers. Tear them into manageable pieces for easier application.
- Flour and water (or glue). Mix these to create a simple, non-toxic paste to bind the paper mache layers together. If you’d like a sturdier volcano, consider using plaster instead.
- Plastic bottle. This will form the core of your volcano and hold the “lava” ingredients.
- Paints. Choose colors like brown, red, black, and green to bring your volcano to life.
- Paintbrushes. Different sizes will help with details and larger coverage.
- Baking soda, vinegar and food coloring. These are the essential ingredients for the exciting eruption.
If you’re looking for alternatives, many craft stores have pre-made paper mache paste or reusable molds. If you’re on a budget, reuse scrap cardboard or leftover paints from other projects.
Organizing your paper mache volcano materials in advance means you’ll save time and therefore have a smoother crafting process.
Ready to start? Let’s build that volcano!
Preparing the base
Building the foundation
The first step in crafting your volcano is building a solid base. This is where all the fun begins! To make sure everything stays sturdy and functional, follow these simple steps.
Start by securing the plastic bottle to the cardboard base. Use strong tape or a glue gun to hold it firmly in place. The bottle will act as the core of your volcano so it’s essential it doesn’t wobble during the construction process or the eruption later.
Next, shape the volcano structure around the bottle using crumpled newspaper or aluminum foil. Mold the materials into a cone shape, making sure the sides slope gently down to the base. This will give your volcano a realistic look. Be careful to leave the top of the bottle exposed, as this is where the eruption magic will happen!
If you’ve ever wondered how to make a volcano model easy, this method is foolproof. It keeps the process fun and manageable while giving you creative freedom to customize your volcano’s size and shape. Once your foundation is ready, you’re all set to start adding the paper mache layers!
Making the paper mache paste
READ: The Easiest Paper Mache recipes for you to try at home
Creating your adhesive
Now it’s time to whip up the magic ingredient that brings your DIY volcano to life. It’s easy to make and uses simple ingredients you probably already have at home.
Flour-based paste
- Mix 1 part flour with 2 parts water in a bowl.
- Stir the mixture until it’s smooth and free of lumps.
- Optional: add a pinch of salt to prevent mold if you plan to keep your volcano for a while.
This paste is affordable and kid-friendly, making it perfect for family projects.
Glue-based paste
For a faster drying option, you can use white school glue instead of flour. Mix equal parts glue and water in a bowl and stir well. This version dries quicker and creates a slightly firmer finish.
Safety tips
Paper mache can get messy so clean up spills immediately to prevent accidents or stains. Cover your workspace with newspaper or an old cloth to protect it while you work.
Whether you choose the flour-based or glue-based method, your paste is now ready to use. Let’s move on to applying it to your volcano structure!
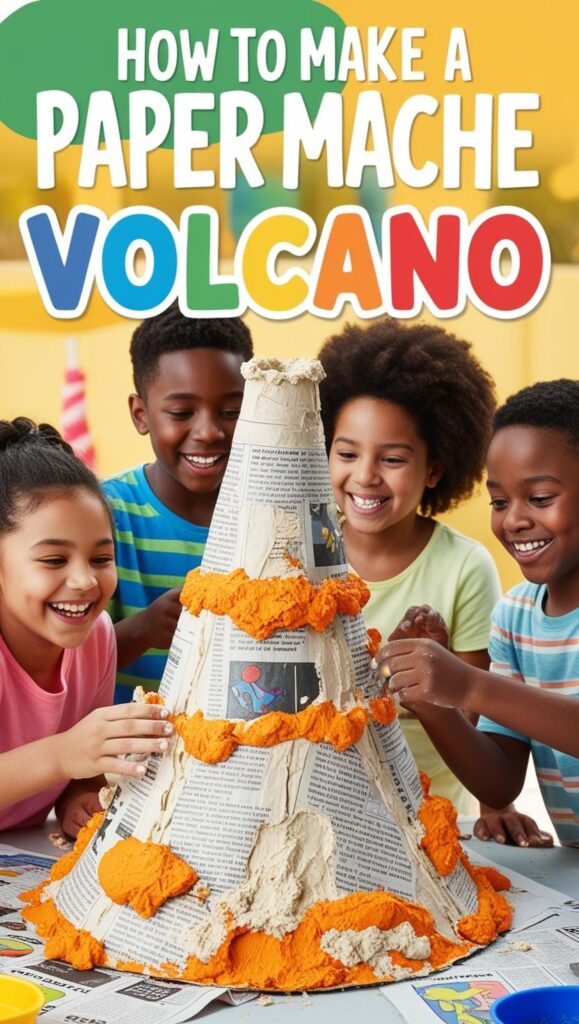
Applying the paper mache
Shaping your volcano
Now it’s time to bring your DIY volcano to life by covering the structure with paper mache. This is where your creativity and patience come into play!
Step-by-step process
- Prepare your strips. Tear or cut newspaper into strips. Dip one strip at a time into your paste, making sure it’s fully coated. Gently run the strip between your fingers to remove excess paste.
- Start layering. Lay the coated strip over your volcano structure, smoothing out any wrinkles or bubbles. Repeat the process, overlapping the strips slightly to create a solid surface.
- Build layers. Apply 2-3 layers of paper mache for strength and durability. Allow each layer to dry partially before adding the next to avoid sagging.
- Cover completely. Make sure you cover the entire volcano structure, including the base, but leave the bottle’s opening clear for the eruption later.
Adding realistic texture
To give your volcano a more natural appearance, crumple a few strips lightly before applying them or layer unevenly to mimic rocky textures.
Drying time
Paper mache takes time to dry, typically around 24 hours per layer. To speed things up, place your volcano in a sunny spot or near a fan. Avoid using heat sources like ovens to prevent accidents.
Once dry, your DIY volcano will be sturdy and ready for the next stage: painting and decorating.
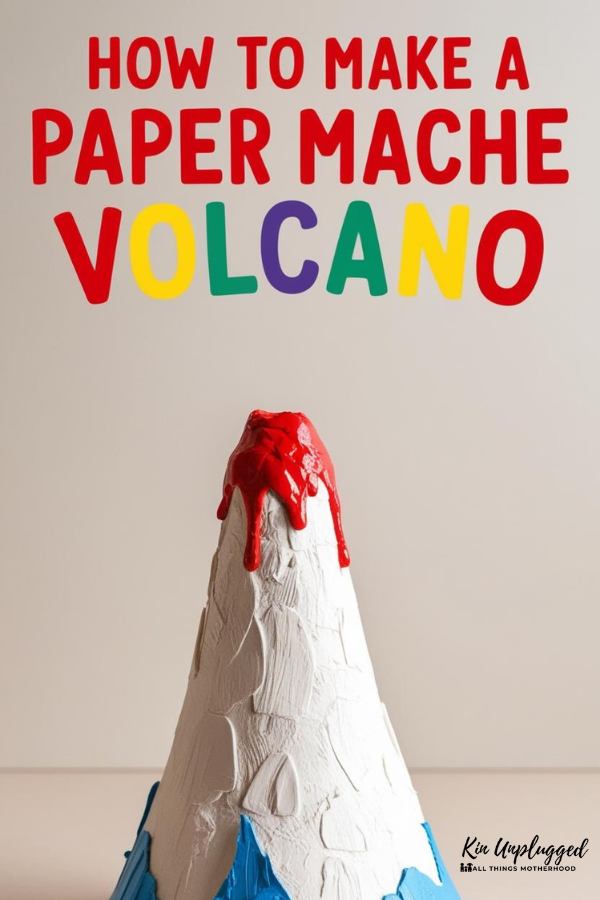
Painting the volcano
Now that your paper mache volcano is dry and sturdy, it’s time to bring it to life with some vibrant colors! Painting is where creativity shines and where kids can have loads of fun personalizing their masterpiece.
Start with the base
Use browns and grays to paint the base of the volcano, mimicking natural rocks.
Add touches of green at the bottom or along the sides to represent vegetation. A small sponge or a wide brush can create a textured, realistic look.
Add the lava details
Use red, orange and yellow paint to create lava streams flowing from the top of the volcano. Let the paint drip slightly for an authentic effect.
Highlight edges with a lighter shade to make the lava look like it’s glowing.
Go for drama
For a fun twist, consider using glow-in-the-dark paint on the lava areas. Once the lights go out, your volcano will glow, adding a magical touch to the project.
Once the paint is dry, your paper mache volcano will look incredible and be ready for its grand finale.
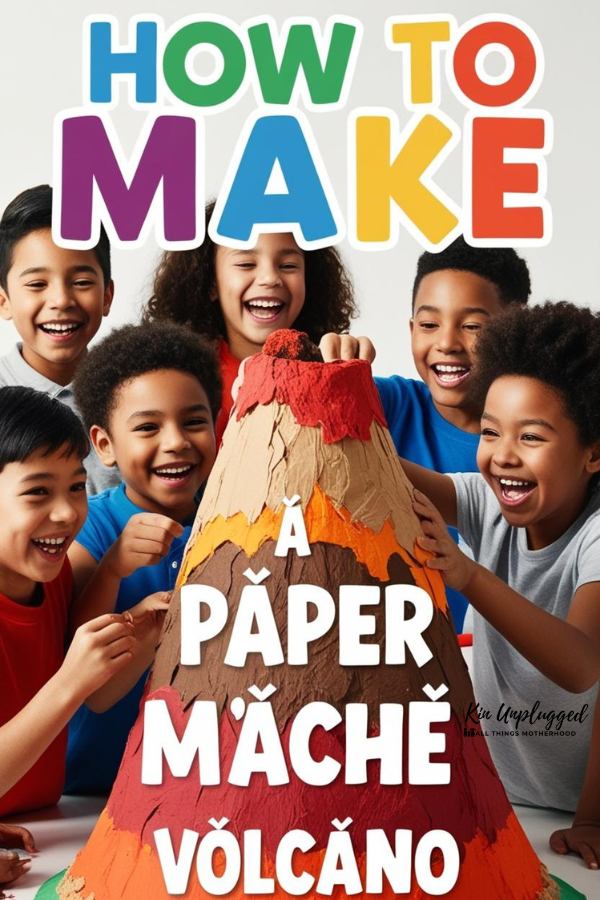
Creating the eruption
Now it’s time to bring your paper mache volcano to life with an explosive and colorful eruption! This part of the project is not only fun but also a great way to introduce kids to basic science concepts.
Materials:
Baking soda
Vinegar
Food coloring (red or orange for a lava effect)
Dish soap (optional for more bubbles)
Step-by-step instructions
- Start by adding a few tablespoons of baking soda to the bottle at the center of your volcano.
- In a separate container, mix vinegar with a few drops of food coloring to create a vibrant lava-like liquid.
- For extra foam and bubbles, add a squirt of dish soap to the vinegar mixture. Stir gently.
- Slowly pour the vinegar mixture into the bottle inside your volcano.
- Stand back and watch as your volcano erupts, spewing colorful “lava” over the sides!
The science behind the eruption
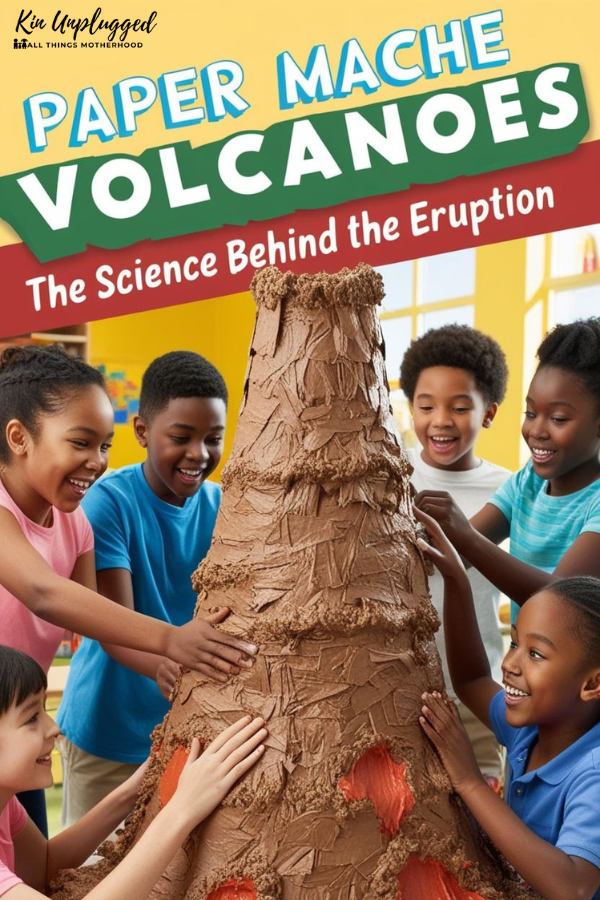
This exciting reaction happens because the vinegar (an acid) reacts with the baking soda (a base), creating carbon dioxide gas. The gas bubbles build up and escape, causing the foamy eruption you see. Adding dish soap enhances the bubbles, making the eruption even more dramatic.
Safety tips:
Perform this experiment outdoors or on a protected surface to minimize cleanup.
Supervise kids during the process to ensure safety and maximum fun!
With your eruption complete, your paper mache volcano has officially stolen the show!
Learning opportunities
As your kids watch the eruption unfold, it’s a perfect opportunity to explain the science behind it in simple terms. You can say, “When we mix the baking soda and vinegar, they create a gas that makes the volcano explode! The bubbles push the lava out just like how real volcanoes erupt.”
This way, the DIY volcano becomes not only a fun activity but also an educational experience.
To expand the learning, try discussing real volcanoes and how they affect Earth. You could talk about famous eruptions like Mount Vesuvius or the role volcanoes play in shaping landscapes. This can help kids understand the bigger picture and how their DIY volcano connects to nature’s powerful forces.
You can also experiment with different eruption recipes. Try adding more baking soda for a bigger eruption, or explore using different colors to create various types of “lava.” You could even challenge your kids to design their own volcano models and test out different eruption ingredients to see how the results change.
Encourage kids to explore other paper mache projects. The possibilities are endless.
This DIY volcano is such a fun and educational project to do with your kids. It’s a perfect way to spend quality time together while learning about science and unleashing creativity. Whether you’re making it for a school project or just for fun, the eruption is sure to bring lots of excitement!
I’d love to see your creations! Share your photos of your paper mache volcano in the comments below or tag me on Pinterest. Let’s see how your volcano turns out and feel free to get creative with colors, textures and eruption styles.
Happy crafting!