Adults and kids alike can testify to just how therapeutic and fun working with clay can be. There’s also a great sense of achievement and satisfaction in making that clay yourself. Let me give you the simplest homemade clay recipe ever.
READ: How to make Moon Sand | The Easiest 2-Ingredient Recipe
The Easiest DIY homemade clay recipe
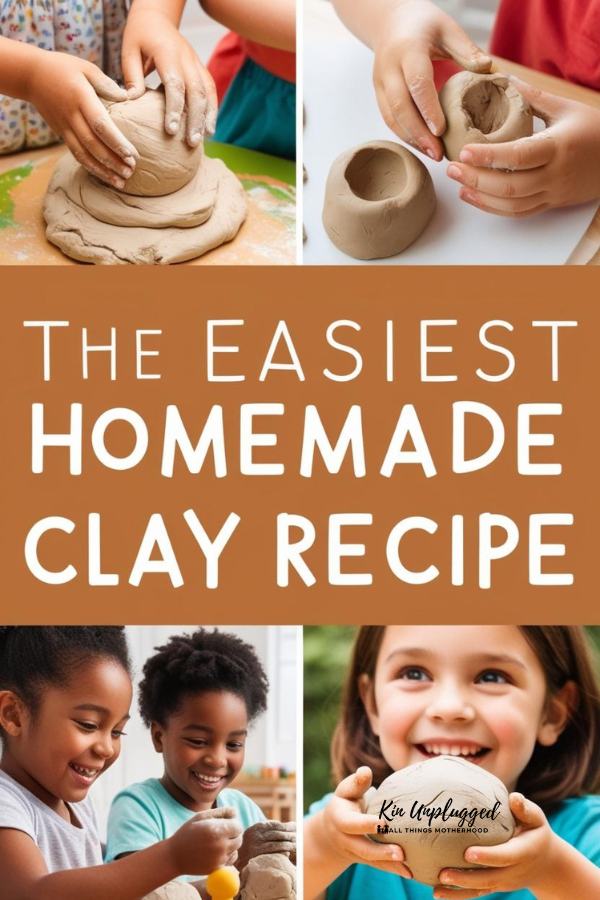
Making your own clay at home is super easy and fun. This homemade clay recipe is perfect for making sculptures, ornaments or even handprint keepsakes.
4 Simple ingredients you need
You only need a few basic kitchen staples:
- 2 cups all-purpose flour
- 1 cup salt
- ¾ cup water (add more if needed)
- 1 tablespoon vegetable oil (optional, for a smoother texture)
Step-by-step instructions
- Mix the dry ingredients. In a large bowl, combine the flour and salt.
- Add water slowly. Pour in the water gradually, stirring as you go. If the dough is too dry, add a little more water. If it’s too sticky, sprinkle in more flour.
- Knead the dough. Use your hands to knead until it becomes soft and pliable. If you’d like a smoother clay, add the vegetable oil.
- Time to create. Shape your clay into whatever you like. Figurines, ornaments or even little handprints.
- Let it dry or bake. Air-dry the clay for 24 – 48 hours or bake at 200°F (90°C) for 1 – 2 hours until firm.
So, how do you make clay at home? It’s as easy as mixing, kneading and shaping. Try this homemade clay recipe today for a fun, hands-on project that’s great for all ages.
It might interest you to know though that there are different types of homemade clay. Each with their own use.
Types of homemade clay and their uses
You’ll be happy to know there are different types you can try, each with its own unique uses.
- Air-dry clay – best for easy, no-bake projects
How it works: dries naturally when left out in the open. No oven needed.
Best for: kids’ crafts, handprint keepsakes, jewelry and lightweight ornaments.
Pros: no baking required, easy to mold and dries hard.
Cons: can be a bit fragile once dry, so handle with care.
- Oven-bake clay – best for durable creations
How it works: hardens in the oven, creating a solid, long-lasting finish.
Best for: sculpting, figurines and durable holiday ornaments.
Pros: more durable than air-dry clay, holds details well.
Cons: requires baking at a low temperature (around 200°F/90°C).

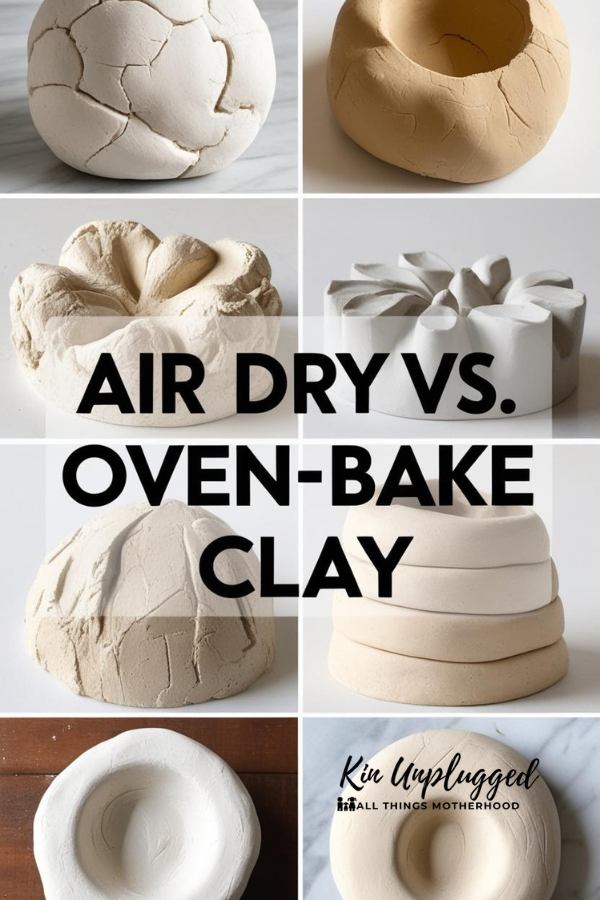
Air-dry clay vs. oven-bake clay
If you’re crafting with kids or want something quick and simple, air-dry clay is the way to go. However, if you want a more durable piece, oven-bake clay is worth the extra step.
6 Tips for working with homemade clay
Working with homemade clay is a lot of fun but if you’ve ever had it crack or dry out too quickly, I’ve got you covered.
Here are some simple tips to help you get the best results from your air dry clay recipe every time.
How to prevent cracking and drying too quickly
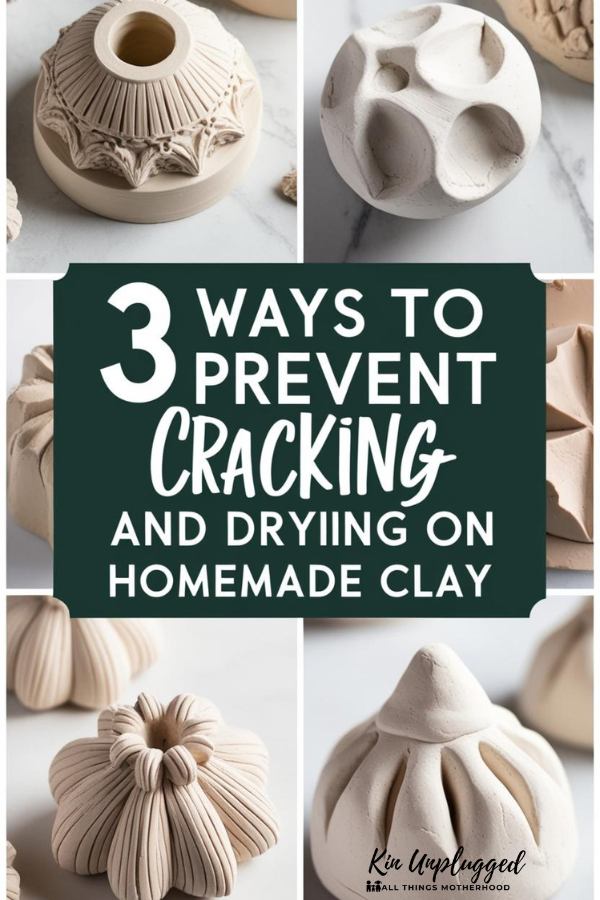
- Keep it moist while working. If your clay starts drying out as you shape it, lightly mist it with water or keep a damp cloth nearby to cover unused portions.
- Smooth out cracks early. If you see small cracks forming, gently rub a little water onto the surface with your fingertips to smooth them out.
- Let it dry slowly. The biggest mistake? Drying it too fast. Place your clay creation in a cool, shaded spot (not direct sunlight or near a heater) to prevent cracking as it hardens.
3 Best storage methods for long-lasting clay

Wrap it tightly. Store unused clay in an airtight container or wrap it in plastic wrap to keep it from drying out.
Keep it in a cool place. Heat can dry out your clay even when it’s stored. Keep it in a cool cupboard or even in the fridge if needed.
Use a resealable bag. If you made extra clay from your homemade air dry clay that doesn’t crack, pop it into a ziplock bag with a damp paper towel to keep it soft for your next project.
With these simple tricks, you’ll have smooth, crack-free clay that’s easy to shape and lasts longer.
And speaking of shaping that clay…
12 Creative project ideas using homemade clay

Homemade clay opens up endless possibilities for creative projects. Using an easy homemade clay recipe, you can create everything from decor to jewelry.
1. Fun crafts for kids
- Impression art. Kids will love making handprint or footprint crafts using homemade clay recipes. It’s a great way to preserve their little hands or feet, and you can even add a fun touch by painting the impressions afterward.
- Clay animals and figures. Have your kids create their favorite animals or characters. With an easy homemade clay recipe, they can mold and shape creatures like elephants, dinosaurs or even their favorite cartoon characters. You can turn these into toys or display them as little sculptures around the house.
- Clay magnets. Mold small shapes like hearts, stars or animals, bake them to harden and then glue magnets on the back. These homemade clay magnets make wonderful gifts or fun additions to the fridge and they’re perfect for kids to make and give to friends or family.
2. DIY decor projects
- Personalized ornaments. With homemade clay, you can easily create unique, personalized holiday ornaments. Roll out the clay, use cookie cutters to create shapes like stars or hearts and then add names or dates with a stamping tool. After they dry, you can paint or decorate them to match your home’s holiday theme.
- Clay plant pots. Want a fresh take on home decor? Craft your own decorative plant pots. Use an easy homemade clay recipe to form and shape your pots, then allow them to dry and paint them in your favorite colors. These can be as simple or as intricate as you like and make a great addition to any room.
- Wall art. You can create unique wall hangings or abstract sculptures with homemade clay recipes. Use molds or freehand designs to shape the clay into interesting forms, then paint them or leave them in their natural color for a minimalistic look. These pieces can be displayed on walls or in decorative frames.
3. Jewelry and accessories
- Clay earrings. One of the most popular DIY projects with homemade clay is jewelry. Mold your clay into fun shapes (like circles, triangles or geometric forms) and bake them to create lightweight earrings. You can customize them with colors, textures and patterns to match your personal style. These make wonderful gifts for friends or family.
- Clay necklaces and bracelets. Create clay beads for necklaces and bracelets by rolling the clay into small balls, poking holes for threading and letting them dry or bake. String them together with beads or charms for a custom jewelry piece. You can even paint or add glitter for extra flair.
- Hair accessories. With the same jewelry-making process, you can create cute hairpins, headbands or barrettes by attaching small clay designs to hair accessories. These pieces are fun and easy to make and offer a personalized touch to your hairstyle.
4. Personalized gifts
- Clay coasters. Mold clay into flat discs or squares, then bake and decorate them to make custom coasters. Personalize them with initials, quotes or designs that reflect the recipient’s personality. These make fantastic gifts for weddings, housewarmings or birthdays.
- Customized keychains. Create personalized keychains using your homemade clay recipe. Mold the clay into different shapes, add names or initials, then let them dry. These custom keychains make great gifts for friends, family or teachers.
- Clay dish trays. Use your homemade clay to create small dishes or trays that can be used for jewelry, coins or as decorative items. Personalize these by painting them or adding a stamped design. These pieces make lovely, thoughtful gifts or home accents.
The beauty of using homemade clay is that it’s versatile and accessible for all ages.
Have fun creating!